 |
| New and improved! |
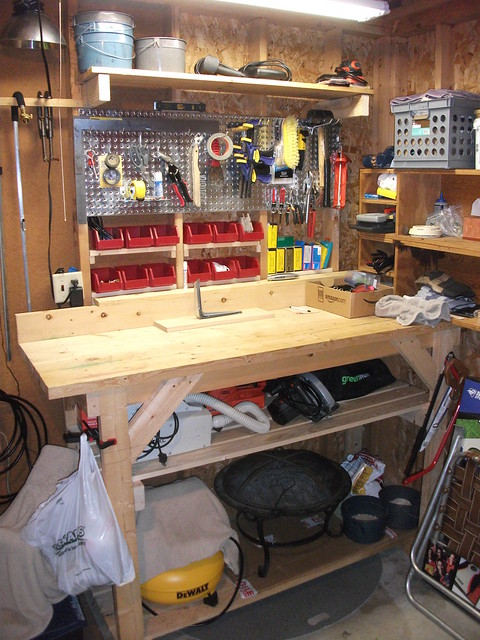
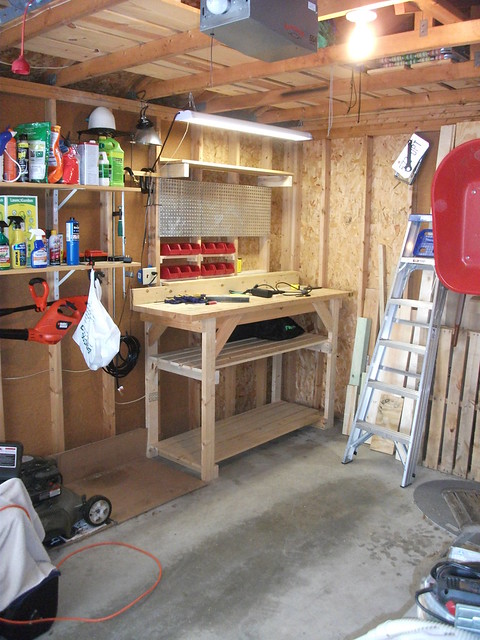
The height of everything is built for me, I can reach it all as needed. The brackets I was using for the shelf above ran on the front of the stud keeping me from raising the pegboard so I just used a 2x4. I also added a lip at the back of the shelf so I can't push anything off the back. Below the shelf, the pegboard holds some of my most commonly used tools, keeping them all very handy for me. Raising the pegboard allowed me to build mini shelves between the studs for even more storage. I had the dozen red bins since I got them for free a long time ago. They've just been sitting in a box in the basement since. Now I have tons of spots for all the little clutter. As of now more than half are still empty - we'll see how long that lasts! To the right of the little red bins I put all my nail and screw boxes. Seemed reasonable at the time. It does have height there that I may use for other things later.
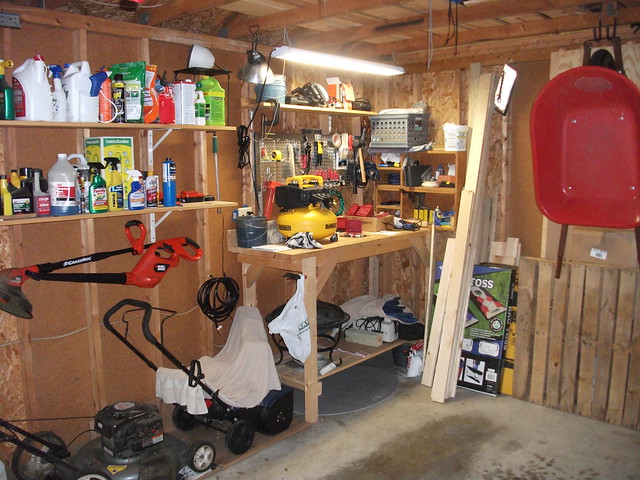 |
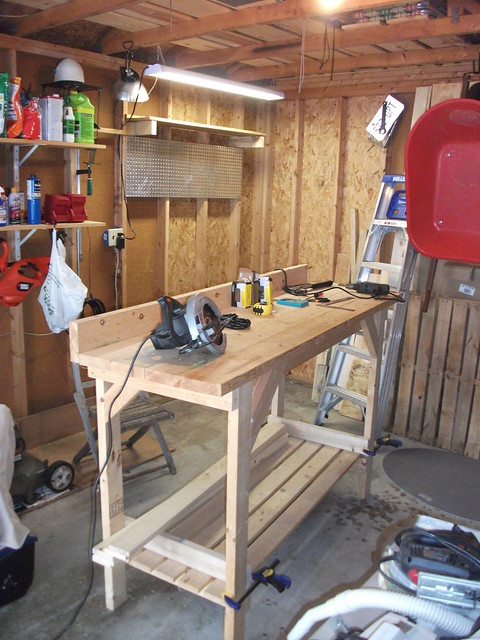
| The 'before' picture. |
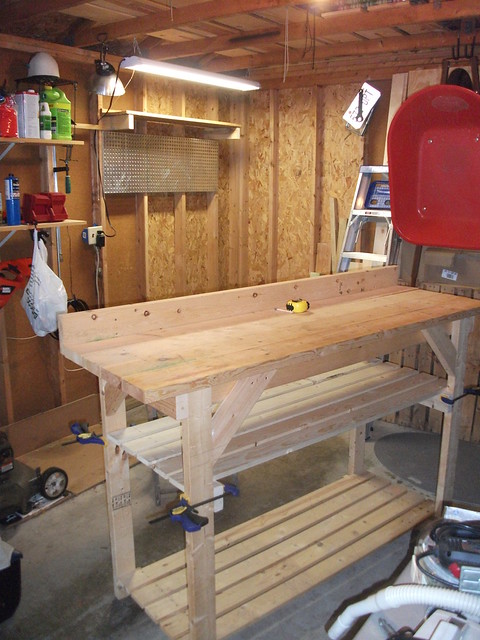
The modifications for the workbench included dropping the lower shelf and adding an identical shelf above that. This gives me a handy area for my growing power tool collection. The bottom is tall enough to comfortably fit the air compressor and anything I may need the space for in the future. For now it also holds the fire pit and odds and ends. The only other thing I added was a 1x4 screwed in along the top so there is no gap in front of the red bins where thing could have dropped.
That's it, that's my new and improved workbench. I think it's pretty neat.
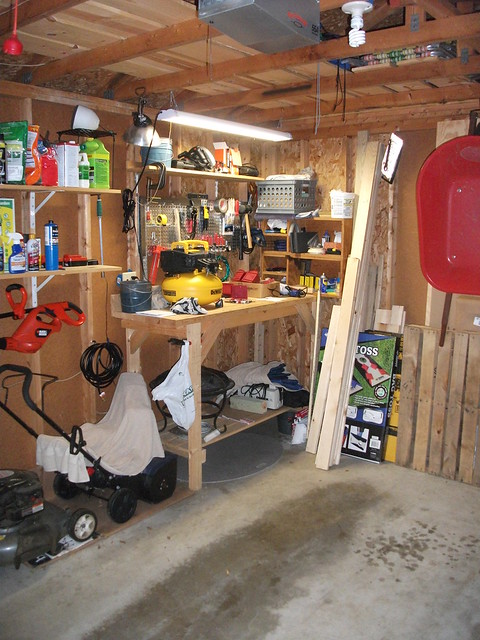
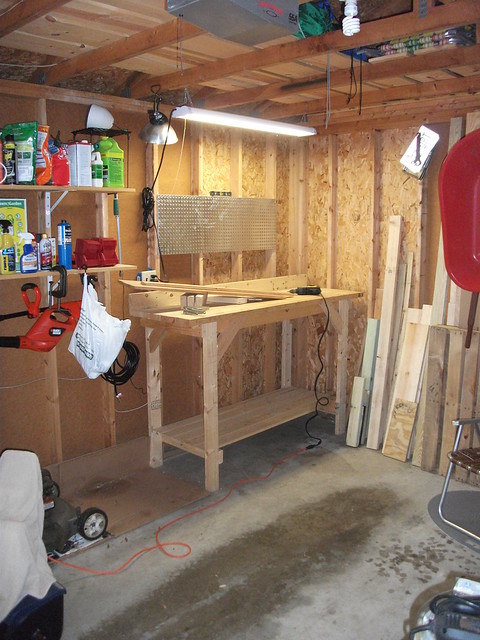
A few pictures of the process, start to finish, after the break:


2 comments:
Looks great! I need one of these.
Thanks, Joanne!
Post a Comment